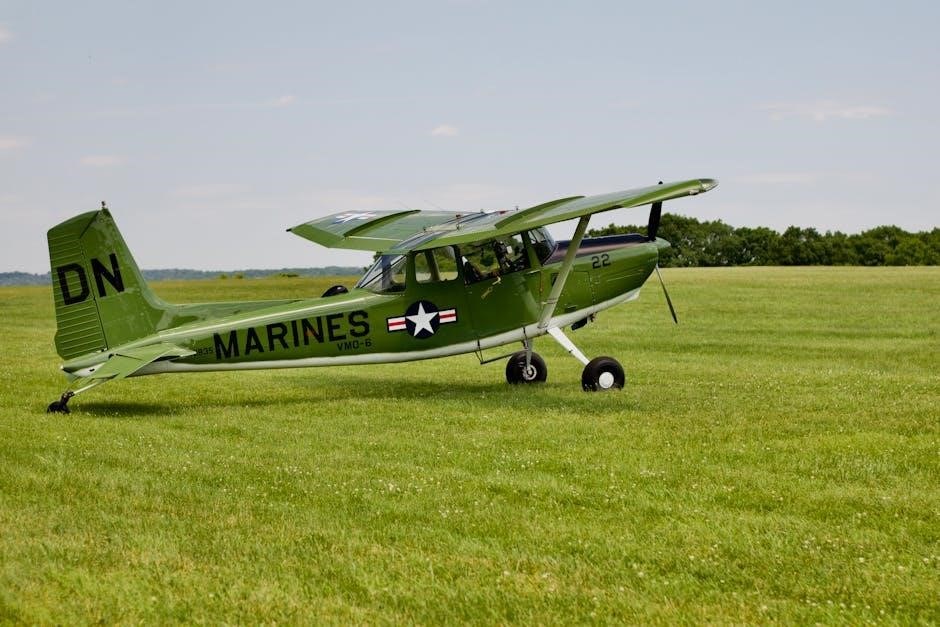
Cessna 150M upkeep, spanning from model builds like the Seagull Cessna L19 to larger Cessna 180/182/188 projects, demands diligent attention․
Overview of the Cessna 150M
The Cessna 150M, a popular single-engine high-wing aircraft, requires consistent maintenance mirroring the dedication seen in detailed model builds – from the Cessna 180’s reinforced structure to the Art-Tech Cessna 182․ Its robust design, like the Bruckmann Cessna 180, necessitates careful inspection․
Owners undertaking projects, such as restoring a Cessna 188 Wagon or assembling a Seagull Cessna L19, understand the importance of meticulous work․ Regular checks, similar to those performed on the Graupner Cessna 152, ensure safe and reliable operation․ Understanding its systems is crucial, just as it is for any model aircraft build․
Importance of Regular Maintenance
Consistent Cessna 150M maintenance is paramount for safety and longevity, echoing the precision required in model aircraft construction – be it a Cessna 180, 182, or 188․ Neglecting upkeep, like ignoring flaws during a build (Seagull L19, Bruckmann 180), can lead to costly repairs or, worse, accidents․
Proactive inspections, mirroring the detailed work on a Graupner Cessna 152 or Vogt’s Cessna 188, prevent minor issues from escalating․ Following a schedule, similar to a progressive inspection program, ensures airworthiness․ Just as a well-built model requires care, so does a full-scale aircraft․

Pre-Flight Inspection
Before each flight, a thorough walk-around, akin to inspecting a model Cessna for build quality, is crucial for identifying potential issues promptly․
Detailed Walk-Around Checklist
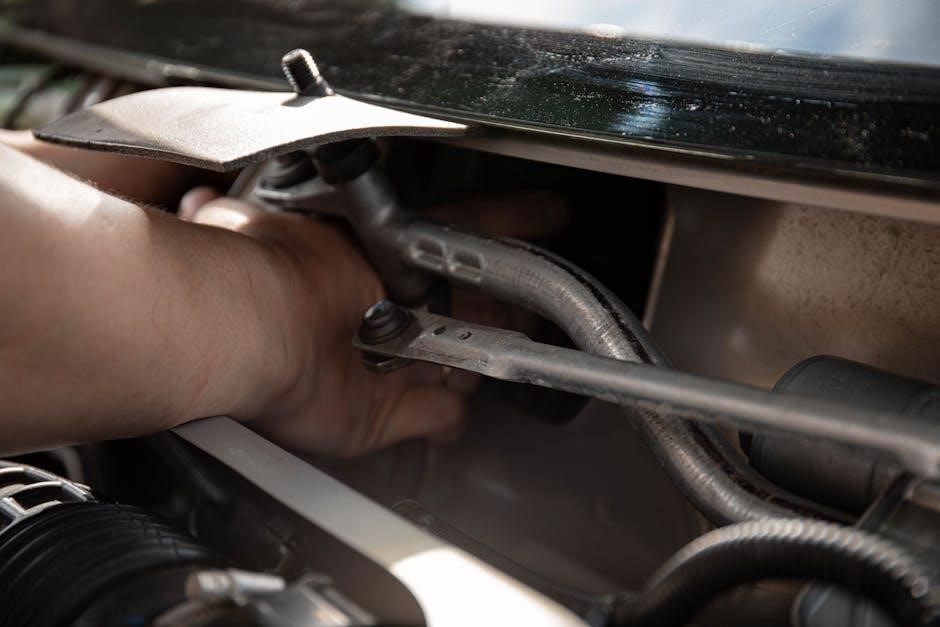
A comprehensive pre-flight inspection, mirroring the meticulous attention given to model aircraft like the Cessna 188 or 180 during construction, is paramount․ Begin with the aircraft’s exterior, checking for any structural damage, loose rivets, or corrosion․ Inspect control surfaces – ailerons, elevator, and rudder – for freedom of movement and secure attachment․ Verify fuel caps are secure and fuel vents are clear․ Examine tires for proper inflation and tread wear․
Next, inspect the propeller and engine cowling for damage․ Check oil levels and look for any leaks․ Finally, ensure pitot tube and static ports are unobstructed․ This detailed checklist, similar to verifying components during a model build, ensures a safe flight;
Fluid Level Checks (Oil, Fuel, Hydraulic)
Accurate fluid level checks are critical, much like ensuring proper component installation during a model Cessna build – be it a 182, 188, or smaller 152․ Begin with the engine oil; verify the level is within the acceptable range on the dipstick, noting any discoloration or metallic sheen․ Next, check fuel levels in both tanks, ensuring sufficient quantity for the intended flight․
The Cessna 150M doesn’t have a hydraulic system, but verifying fuel caps are secure prevents leaks․ Consistent monitoring, akin to the care given to a Bruckmann Cessna 180, is vital for safe operation․
Control Surface Inspection
A thorough control surface inspection is paramount, mirroring the precision required when assembling model aircraft like the Cessna 188 Wagon or Seagull Cessna L19․ Examine the ailerons, elevator, and rudder for freedom of movement, checking for any binding or excessive play․
Inspect hinges and control horns for security and wear․ Verify control cables are properly routed and secured, similar to ensuring correct Schubstangen installation․ Look for any signs of damage, such as cracks or distortion, vital for safe flight, just like a well-built Cessna 180․

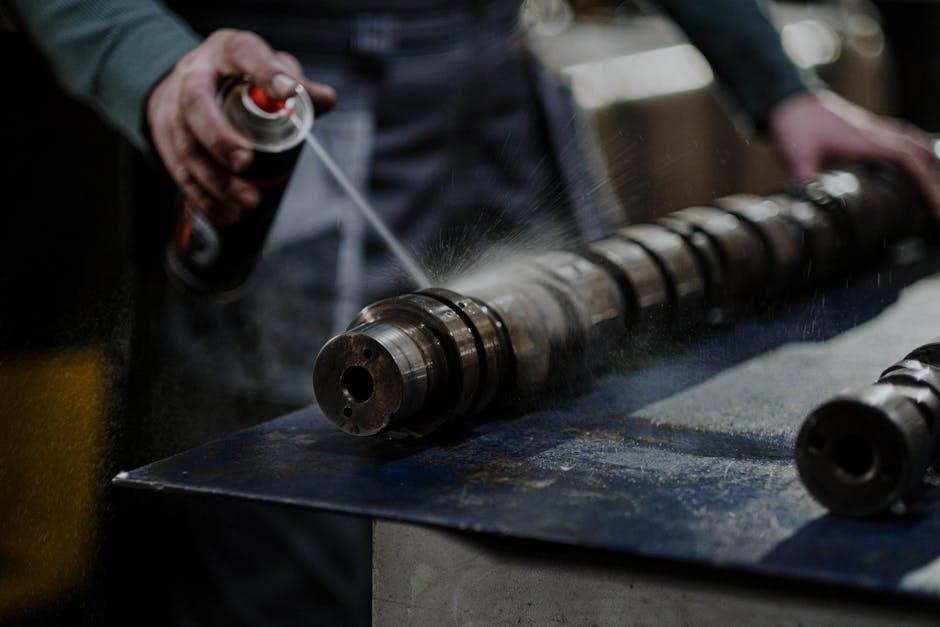
Engine Maintenance
Regular engine care, like motorizing a Cessna 188 with a ZDZ 80, is crucial․ Oil changes, spark plug checks, and air filter maintenance ensure reliability․
Oil Change Procedures
Performing a Cessna 150M oil change requires meticulous attention to detail․ Begin by warming the engine to operating temperature, then shut it down․ Position a drain pan beneath the oil drain plug, typically located on the lower part of the engine․ Carefully remove the plug, allowing the old oil to drain completely․
Inspect the drain plug for any metal shavings, indicating potential engine wear․ Replace the drain plug with a new gasket, tightening it to the manufacturer’s specified torque․ Next, remove the oil filter and lubricate the gasket of the new filter with fresh oil before installation․ Fill the engine with the correct grade and quantity of oil, as outlined in the Cessna 150M maintenance manual; Finally, check the oil level with the dipstick, ensuring it falls within the acceptable range․
Spark Plug Inspection and Replacement
Regular spark plug inspection is crucial for optimal Cessna 150M engine performance․ Remove each spark plug and visually inspect the electrodes for wear, fouling, or damage․ Check the gap using a feeler gauge, ensuring it matches the specification in the maintenance manual․
Signs of oil fouling, carbon buildup, or electrode erosion indicate the need for replacement․ When installing new spark plugs, apply a small amount of anti-seize compound to the threads to prevent corrosion․ Torque the plugs to the manufacturer’s recommended specification․ Proper spark plug maintenance ensures efficient combustion and minimizes engine issues, contributing to reliable flight operations․
Air Filter Cleaning and Replacement
Maintaining a clean air filter is vital for the Cessna 150M engine’s health, preventing debris from entering and causing wear․ Inspect the air filter regularly for dirt, dust, and oil accumulation․ Depending on the filter type (paper or oiled foam), cleaning procedures vary․
Paper filters should be tapped gently to remove loose contaminants and replaced when heavily soiled․ Oiled foam filters require washing with a specialized filter cleaner, re-oiling, and squeezing out excess oil․ A clogged air filter restricts airflow, reducing engine power and efficiency․ Consistent maintenance ensures optimal engine performance and longevity․

Airframe Maintenance
Airframe integrity, like the robust construction seen in Cessna 180/182 builds, requires diligent inspection for corrosion, fabric condition, and landing gear serviceability․
Corrosion Prevention and Control
Corrosion is a significant threat to the longevity of the Cessna 150M airframe, demanding proactive prevention and control measures․ Regular inspections, particularly in areas prone to moisture accumulation, are crucial․ Addressing corrosion promptly prevents structural weakening and costly repairs․
Cleaning and applying protective coatings, such as corrosion inhibitors, are essential steps․ Pay close attention to joints, seams, and areas where dissimilar metals meet, as these are prime locations for corrosion initiation․
Similar to the meticulous builds observed in larger Cessna models (180, 182, 188), a thorough approach to corrosion control ensures continued airworthiness and safety․ Consistent maintenance, mirroring the dedication shown in model aircraft projects, is key․
Fabric Inspection and Repair (if applicable)
While the Cessna 150M primarily features a metal airframe, some components may utilize fabric covering, requiring specific inspection and repair procedures․ Thoroughly examine fabric surfaces for rips, tears, punctures, and deterioration․ Pay close attention to areas around control surfaces, ribs, and seams․
Any damage discovered must be addressed promptly by a qualified aircraft mechanic, adhering to FAA-approved repair techniques․ This may involve patching, re-covering, or complete fabric replacement․
Maintaining fabric integrity is vital, mirroring the precision seen in model aircraft builds like the Cessna L19, ensuring continued aerodynamic performance and structural soundness, similar to larger Cessna models․
Landing Gear Inspection and Servicing
Regular landing gear inspection is crucial for safe Cessna 150M operation․ Examine tires for wear, damage, and proper inflation, referencing manufacturer specifications․ Inspect wheels for cracks, dents, and bearing play․ Check brake lines and components for leaks or corrosion, ensuring optimal braking performance․
Struts should be inspected for oil leaks and proper extension․ Lubricate all moving parts according to the maintenance schedule․ Similar attention to detail is evident in model aircraft construction, like the Cessna 180, where robust landing gear is essential․
Address any discrepancies immediately to maintain ground handling and safety․
Electrical System Maintenance
Inspect battery condition, wiring harnesses for damage, and avionics functionality․ Consistent checks, mirroring detailed model builds like the Cessna 188, ensure reliable operation․
Battery Inspection and Maintenance
Regular battery checks are crucial for Cessna 150M reliability․ Inspect the battery case for cracks or swelling, indicating potential issues․ Examine terminals for corrosion, cleaning them with a baking soda solution if necessary, ensuring a secure connection․
Check electrolyte levels in non-sealed batteries, adding distilled water as needed․ Perform a load test to assess battery capacity and overall health․ Proper maintenance, similar to the meticulous attention given to model aircraft like the Cessna 180 during construction, extends battery life and prevents unexpected failures․ Document all inspections and maintenance performed in the aircraft’s logbook․
Wiring Harness Inspection

Thoroughly inspect the Cessna 150M’s wiring harness for signs of damage, including chafing, cracking, or loose connections․ Pay close attention to areas near moving parts or where wires pass through bulkheads․ Look for evidence of rodent damage, a common issue․
Ensure all connections are secure and properly insulated․ Similar to the detailed work seen in building model Cessnas like the 188 Wagon, meticulous inspection is key․ Replace any damaged wiring immediately․ Document all findings and repairs in the aircraft’s maintenance records, ensuring continued electrical system integrity․
Avionics Troubleshooting
Systematic avionics troubleshooting in the Cessna 150M requires a methodical approach․ Begin with power supply checks, verifying voltage and continuity․ Utilize available schematics to trace circuits and isolate faults․ Common issues include antenna connections, faulty switches, and indicator malfunctions․
Like the careful construction of model aircraft – Cessna 180, 182, or 152 – precision is vital․ Employ appropriate test equipment and consult the aircraft’s maintenance manual․ Document all troubleshooting steps and repairs․ If unable to resolve the issue, consult a qualified avionics technician․
Flight Control System Maintenance
Maintaining Cessna 150M flight controls involves inspecting cables, hinges, and trim, mirroring the precision needed in model builds like the Cessna 188 Wagon․
Control Cable Inspection and Adjustment
A thorough inspection of the Cessna 150M’s control cables is paramount for flight safety․ This involves a meticulous check for fraying, kinks, corrosion, and proper tension․ Cables must move freely within their conduits without binding or excessive play․
Adjustment is crucial; ensure full and correct control surface deflection in both directions․ Verify that the cables are securely attached at all connection points, utilizing appropriate hardware․ Any discrepancies discovered during inspection necessitate immediate correction or replacement, adhering to approved maintenance manuals․ Remember, precision, like in model aircraft builds, is key․
Hinge Point Lubrication
Maintaining smooth operation of control surfaces on the Cessna 150M hinges on proper lubrication․ Regularly inspect all hinge points – ailerons, elevators, and rudder – for signs of wear, corrosion, or stiffness․ Apply an approved aviation-grade lubricant, ensuring complete coverage without over-application, which can attract dirt․
Like the careful construction seen in model aircraft projects, meticulous attention to detail is vital․ Verify full range of motion after lubrication․ Consistent lubrication prevents binding, reduces wear, and contributes to precise control, mirroring the quality found in well-maintained Cessna 180 builds․
Trim System Inspection
The Cessna 150M’s trim system requires periodic inspection to ensure proper functionality․ Check for free and smooth movement of the trim controls, both in the cockpit and at the trim tabs themselves․ Inspect the trim tab linkages for wear, looseness, or corrosion, similar to the detailed attention given to model aircraft builds like the Cessna 188․
Verify that the trim indicators accurately reflect the trim tab positions․ Any binding or unusual resistance should be addressed immediately․ A properly functioning trim system is crucial for reducing pilot workload and maintaining stable flight, mirroring the precision of a Bruckmann Cessna 180․
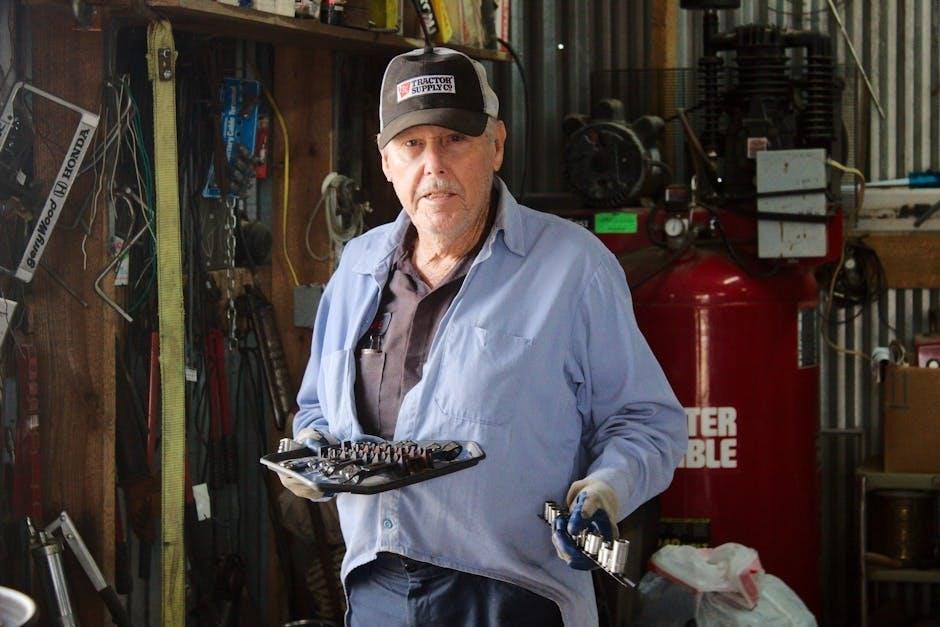
Component Replacement
Replacing Cessna 150M parts, from motors (like a ZDZ 80 for a Cessna 188) to structural elements, necessitates proper procedures and meticulous documentation for airworthiness․
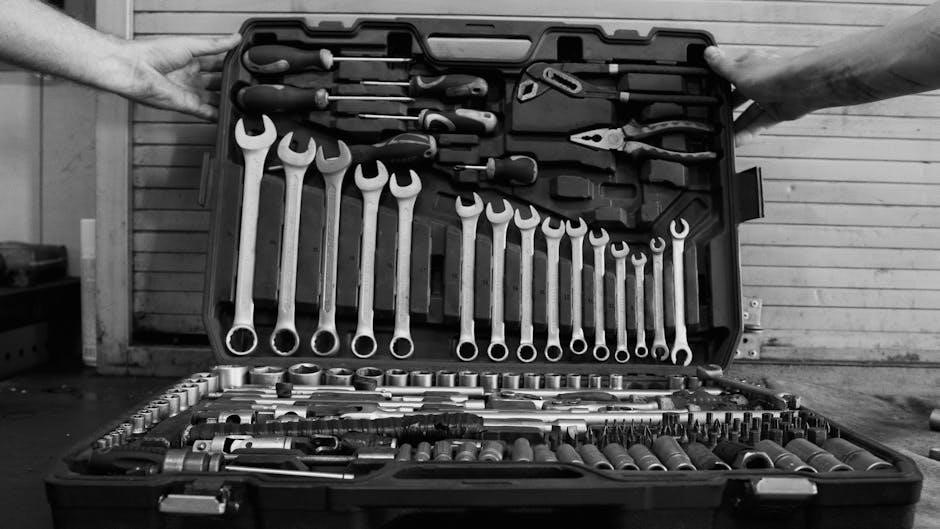
Recommended Spare Parts Inventory
Maintaining a comprehensive spare parts inventory is crucial for minimizing Cessna 150M downtime․ Essential items include spark plugs, air filters, oil filters, and various hardware components like screws, bolts, and washers․ Consider stocking replacement fluids – oil, hydraulic fluid – and common wear items such as control cables and hoses․
For larger repairs, having access to replacement parts for landing gear, avionics components, and even sections of the airframe (fabric patches, if applicable) can significantly expedite the process․ Graupner Cessna 152 parts, while potentially useful for reference, may not directly apply․ Prioritize parts specific to the Cessna 150M model, ensuring compatibility and airworthiness standards are met․
Proper Installation Procedures
Adhering to precise installation procedures is paramount when replacing Cessna 150M components․ Always consult the official maintenance manual for torque specifications, wiring diagrams, and proper alignment techniques․ Ensure all fasteners are correctly secured and safety-wired as required․
When working with avionics, meticulous attention to wiring connections is vital․ For airframe repairs, like fabric patching (if applicable), follow approved methods․ Projects like the Cessna 180/182/188 builds demonstrate the importance of careful assembly․ Document all installations thoroughly, noting part numbers, dates, and the technician’s credentials for traceability and compliance․
Documentation of Replacements
Comprehensive documentation is crucial following any component replacement on a Cessna 150M․ Maintain a detailed logbook entry specifying the replaced part number, the date of installation, and the total time since new (TSN) or time since overhaul (TSO)․
Include the technician’s certification and any relevant inspection reports․ This practice mirrors the meticulous record-keeping seen in larger aircraft projects like the Cessna 180/182/188 builds․ Accurate records are essential for tracking maintenance history, ensuring airworthiness, and facilitating future inspections, aligning with aviation safety standards;

Scheduled Inspections
Regular Cessna 150M inspections – 100-hour, annual, or progressive – are vital for continued airworthiness, mirroring detailed model aircraft upkeep procedures․
100-Hour Inspection Requirements
The 100-hour inspection, as mandated by regulations, is a crucial checkpoint for Cessna 150M aircraft, particularly those utilized for flight training or rental operations․ This inspection focuses on preventative maintenance, ensuring the continued safe operation of the aircraft․ Key areas include a thorough examination of the engine, propeller, and associated components, checking for wear, cracks, or any signs of deterioration․
Furthermore, the landing gear, flight controls, and structural integrity of the airframe receive detailed scrutiny․ Fluid levels are verified, and the effectiveness of brakes and control systems is assessed․ Similar to the meticulous attention given to model aircraft builds – like the Cessna 180 or 188 – a comprehensive checklist must be followed, and all discrepancies documented and addressed before returning the aircraft to service․
Annual Inspection Requirements
The annual inspection represents a more in-depth assessment of the Cessna 150M’s overall condition than the 100-hour check․ Performed by a certified A&P mechanic, it involves a comprehensive teardown and inspection of numerous systems․ This includes a detailed examination of the engine, airframe, and all critical components, going beyond the scope of routine preventative maintenance․
Similar to the detailed construction of model aircraft like the Cessna 180 or the Vogt Cessna 188, the annual inspection requires meticulous attention to detail․ Corrosion control, fabric condition (if applicable), and proper functioning of avionics are all thoroughly evaluated․ All findings must be documented, and any necessary repairs or replacements completed before the aircraft can be returned to flight, ensuring continued airworthiness․
Progressive Inspection Program
A Progressive Inspection Program offers an alternative to the standard annual and 100-hour inspections for the Cessna 150M․ Approved by the FAA, it divides the annual inspection tasks into smaller, more manageable segments performed throughout the year․ This approach, much like the phased building of model aircraft such as the Cessna 180 or L19 Bird Dog, spreads out maintenance workload and costs․
Each segment must be completed within specified timeframes, and detailed records maintained․ This program requires diligent tracking and adherence to the approved schedule․ It’s crucial to consult with an experienced A&P mechanic to determine if a Progressive Inspection Program is suitable for your operational needs and aircraft usage․