Body brushing, a practice blending health and intimacy, has evolved into a sensual ritual, sparking curiosity and debate about its transformation into adult content.
What is Body Brushing?
Body brushing is a practice involving the use of a brush to stimulate the skin, promoting circulation and exfoliation. Originally a health ritual, it has evolved into a sensual activity, often featured in adult content. Tutorials showcasing its techniques frequently blur the line between wellness and intimacy, leading to NSFW adaptations that emphasize its erotic potential over its therapeutic benefits. This duality has sparked both curiosity and controversy, as the practice transitions from a private, self-care routine to a public, adult-oriented spectacle.
History and Origins of Body Brushing
Body brushing traces its roots to ancient civilizations, where it was used for cleansing and spiritual rituals. Egyptian and Greek practices involved brushing for hygiene and skin health, while Ayurvedic traditions emphasized its detoxifying benefits. Over time, the technique evolved, incorporating various materials like natural bristles and massage brushes. In modern times, body brushing gained popularity as a self-care ritual, often recommended for exfoliation and circulation improvement. Its transition into adult content highlights a shift from therapeutic use to sensual exploration, blending physical stimulation with emotional connection. This evolution reflects the adaptability of body brushing, from a traditional health practice to a contemporary, intimate experience.
Popular Culture and Body Brushing
Body brushing has become a trendy topic in modern media, often highlighted in wellness blogs, YouTube tutorials, and social media posts. Influencers and celebrities frequently share their brushing routines, showcasing its benefits for skin health and relaxation. However, the rise of adult content has shifted some discussions toward its sensual applications. Popular culture often blurs the line between therapeutic practices and intimate experiences, making body brushing a subject of curiosity and debate. Its visibility in mainstream media has sparked conversations about its versatility, from a simple self-care ritual to a more provocative activity. This duality reflects its evolving role in society, blending health and sensuality in unexpected ways.

Benefits of Body Brushing
Body brushing has gained traction in popular culture, often featured in wellness blogs, YouTube tutorials, and social media. Influencers and celebrities showcase its benefits, blending health and intimacy. While initially promoted for skin health, its sensual potential has sparked curiosity, leading to NSFW content. This shift reflects its dual role in modern society, blending self-care with sensuality. Popular culture continues to explore and redefine body brushing, making it a subject of both therapeutic and intimate interest. Its visibility highlights its versatility, from a simple ritual to a provocative activity, sparking conversations about its evolving role in health and relationships.
Physical Health Benefits
Body brushing offers numerous physical health benefits, including improved circulation, enhanced skin exfoliation, and detoxification through lymphatic stimulation. Regular brushing removes dead skin cells, promoting healthier skin texture and tone. It also aids in reducing cellulite appearance and can boost the immune system by stimulating lymph nodes. Additionally, body brushing can promote relaxation, reduce muscle tension, and improve overall well-being. Many users report smoother skin and a glowing complexion after consistent practice. These benefits make body brushing a popular ritual for both health and self-care, contributing to its popularity in wellness routines and beyond.
Mental and Emotional Benefits
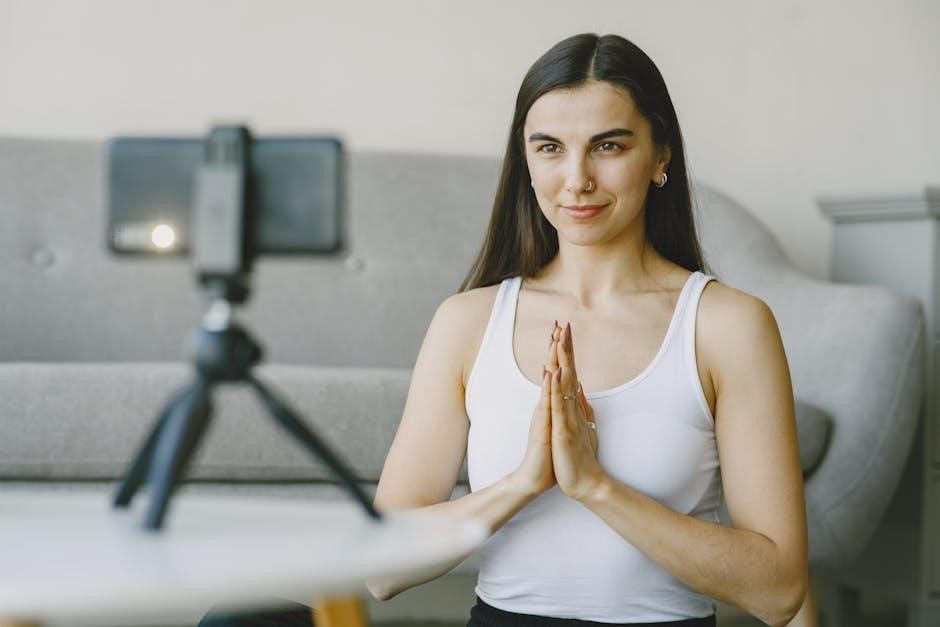
Body brushing fosters mindfulness and self-care, promoting emotional well-being by encouraging self-connection. The rhythmic motion can create a sense of intimacy and relaxation, reducing stress and anxiety. Regular practice enhances self-awareness, empowering individuals to embrace their bodies positively. It also serves as a therapeutic ritual, offering moments of calm and introspection. Many find it a form of self-love, boosting confidence and mental clarity. The meditative aspect of brushing helps individuals unwind and recharge, contributing to improved mental health and emotional resilience. These benefits highlight body brushing as a holistic practice that nurtures both body and mind, fostering overall well-being and self-acceptance.
Skin Care and Beauty Advantages
Body brushing offers significant skin care benefits, including exfoliation, improved circulation, and enhanced lymphatic drainage. Regular brushing removes dead skin cells, revealing smoother, brighter skin. It also stimulates blood flow, promoting healthy skin tone and reducing the appearance of cellulite. Additionally, body brushing helps detoxify the skin by clearing out toxins through the lymphatic system. Over time, it can improve skin texture, leaving it soft and radiant. Many users report reduced acne and better absorption of skincare products due to the gentle exfoliation. These beauty advantages make body brushing a popular ritual for maintaining glowing, healthy-looking skin and overall skin wellness.
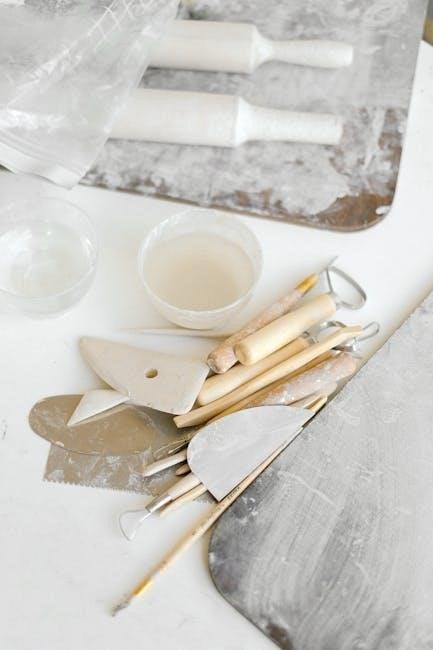
Tools and Supplies Needed
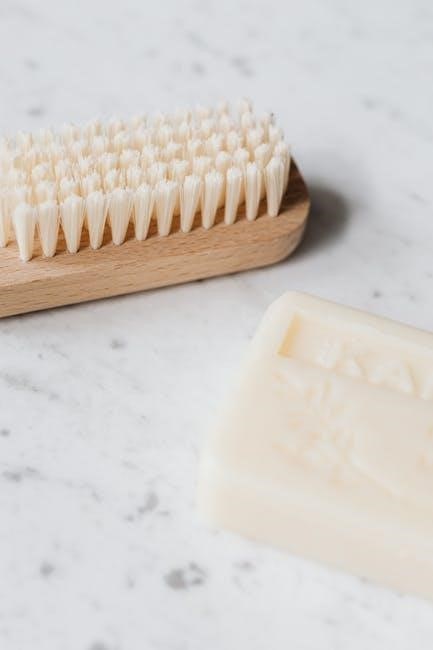
A natural-bristle brush or exfoliating glove is essential for body brushing. Opt for a brush with a long handle for hard-to-reach areas. Additional supplies like lotions or oils enhance results.
Types of Brushes for Body Brushing
Body brushing typically uses natural-bristle brushes, exfoliating gloves, or soft-bristle massagers. Natural-bristle brushes are firm, ideal for detoxifying and improving circulation. Exfoliating gloves offer a gentler touch, suitable for sensitive skin. Soft-bristle massagers combine brushing with relaxation, enhancing the sensory experience. Each tool serves a unique purpose, catering to different preferences and skin types. Some brushes feature ergonomic handles for better grip, while others include nodules for targeted massage. The choice often depends on personal comfort and desired outcomes, whether for health benefits or intimate moments. Proper selection ensures effectiveness and enjoyment, making the practice more satisfying overall.
Choosing the Right Brush for Different Skin Types
Selecting the appropriate brush for your skin type is crucial for effective body brushing. For sensitive skin, opt for soft-bristle brushes or gentle exfoliating gloves to avoid irritation. Normal skin benefits from medium-bristle brushes, which provide effective exfoliation without discomfort. Dry skin requires extra care; soft or natural-bristle brushes with rounded tips are ideal. Oily skin can tolerate firmer brushes, promoting deeper exfoliation and detoxification. Consider ergonomic handles for better control and comfort. Bristle quality matters—natural fibers like boar or sisal are durable and effective, while synthetic bristles are gentler. Proper brush selection ensures a safe and enjoyable experience, catering to individual needs and preferences.
Additional Products for Enhanced Results
To maximize body brushing benefits, consider incorporating complementary products. Natural oils like coconut or jojoba can moisturize and soften skin, enhancing the brushing experience. Exfoliating gloves ormitts add a gentle yet effective layer of exfoliation. Luxurious body washes or scrubs can be used post-brushing for deep cleansing. Hydrating lotions or serums help lock in moisture and nourish the skin. Essential oils, such as lavender or peppermint, can be added for aromatherapy benefits, promoting relaxation and invigoration. These products not only enhance physical results but also elevate the ritual, making it a holistic self-care practice tailored to personal preferences and skin needs.
Step-by-Step Body Brushing Tutorial
Begin with gentle strokes, focusing on areas like arms and legs before moving to sensitive zones. Experiment with pressure and angles for desired sensations and results.
Preparation and Setup
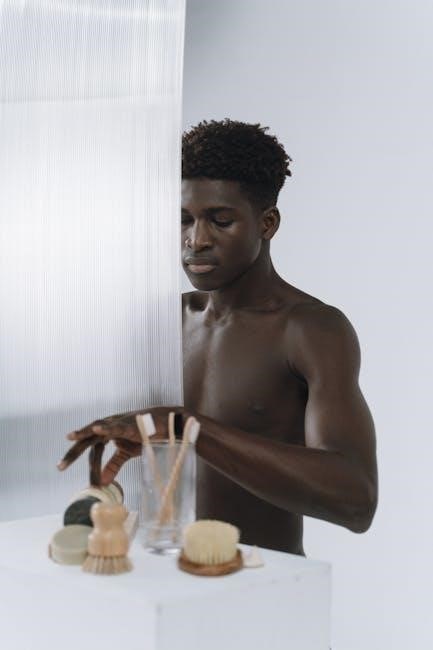
Preparation is key to a successful body brushing session. Start by creating a calming environment, ensuring privacy and comfort. Choose a quiet space where distractions are minimal. Gather your tools: a high-quality brush, optional lotions, and towels. Before beginning, cleanse your skin to remove dirt and oils. Exfoliate if needed, but avoid harsh scrubs. Dry your skin thoroughly, as brushing on damp skin can cause irritation. Mentally prepare by relaxing and focusing on your intentions—whether for health, relaxation, or exploring sensuality. Consider the brush size and bristle firmness based on your skin type and desired sensations. Take deep breaths to center yourself, ensuring you’re fully present for the experience. This setup lays the groundwork for a transformative and enjoyable session.
Basic Brushing Techniques
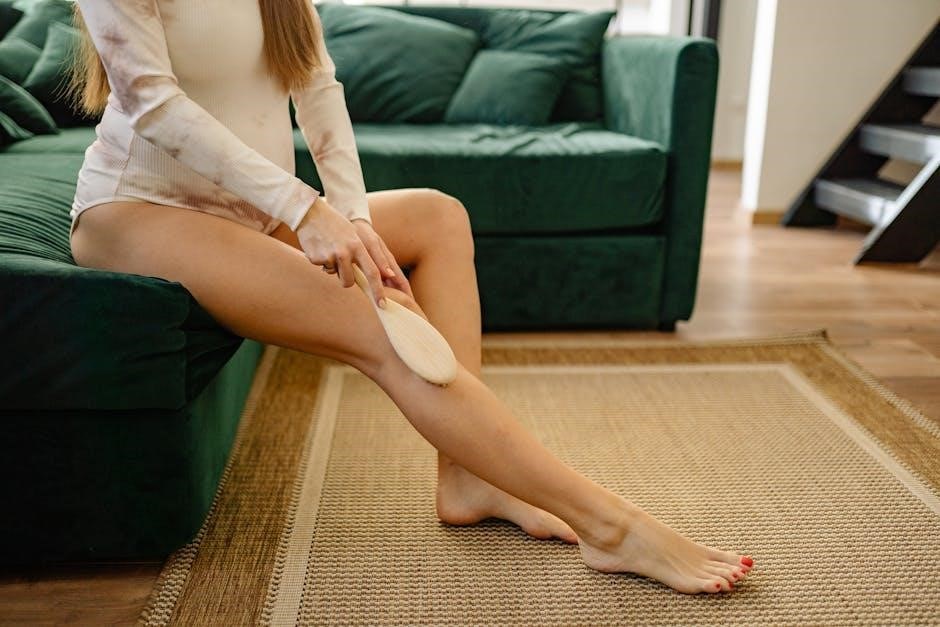
Mastering basic brushing techniques ensures a safe and effective experience. Start with gentle, upward strokes, working from your feet towards your heart to boost circulation. Use light pressure on sensitive areas like the neck and arms, increasing firmness on tougher skin, such as the soles.Circular motions can exfoliate effectively, while long sweeps promote lymphatic drainage. Avoid broken or irritated skin to prevent discomfort. Breathe deeply, syncing your breath with strokes for relaxation. For a sensual approach, slow, deliberate movements can heighten sensitivity. Always listen to your body, adjusting pressure and speed as needed. These techniques form the foundation for both therapeutic and intimate brushing practices, enhancing overall well-being and connection with your body.

Advanced Tips for Maximum Effectiveness
To elevate your body brushing experience, experiment with varying pressures and speeds to tailor sensations. Incorporate circular motions for deeper exfoliation and long, sweeping strokes for lymphatic drainage. For enhanced relaxation, brush in the morning to energize or before bed to unwind. Consider integrating massage techniques, like gentle kneading, to release muscle tension; Timing is key—brushing before showers or intimate moments can amplify results. Always respect boundaries and prioritize comfort, ensuring consent and communication, especially in shared practices. These advanced methods refine your technique, balancing therapeutic benefits with sensual exploration, while maintaining trust and connection. This approach ensures a holistic and enjoyable experience.
Body Brushing and NSFW Content
Body brushing has sparked controversy as tutorials often blur the line between wellness and adult content. This shift raises questions about intent, boundaries, and audience perception.
When Body Brushing Tutorials Turn NSFW
The line between educational and explicit content often blurs in body brushing tutorials. Initially intended for wellness, some creators incorporate sensual techniques, leading to adult-oriented material. This shift occurs as tutorials focus on physicality and intimacy, sometimes emphasizing suggestive movements over health benefits. The rise of NSFW content reflects a blending of wellness culture with adult entertainment, driven by viewer demand and platform algorithms favoring sensational material. While some argue it normalizes body positivity, others criticize it for overshadowing legitimate health practices. This trend highlights the challenges of maintaining boundaries in content creation, raising questions about intent and audience perception.
Why Some Tutorials Cross the Line
Some body brushing tutorials cross into NSFW territory due to their focus on sensuality and physical appeal. Creators often emphasize suggestive movements and close-ups, blurring the line between wellness and adult content. This shift is driven by the demand for engaging material and platforms prioritizing views. Many tutorials now incorporate elements of intimacy, targeting viewers seeking more than just health benefits. While some argue this broadens the practice’s appeal, others see it as diluting its original purpose. The trend underscores the fine balance between educational and explicit content, raising questions about the intentions behind such tutorials and their impact on the practice’s perception.
Impact of NSFW Content on the Practice
The rise of NSFW body brushing tutorials has sparked controversy, altering public perception of the practice. While some view it as a form of empowerment and self-expression, others criticize its association with adult content, fearing it undermines the legitimate health benefits. This shift has led to a divided community, with some embracing the sensualization of body brushing and others advocating for its return to wellness-focused roots. The viral nature of such content on social media platforms has further amplified its reach, raising questions about the practice’s legitimacy and its future. This duality highlights the complex interplay between intimacy, health, and digital trends shaping modern body brushing culture.
Risks and Side Effects
Body brushing tutorials turning NSFW may lead to physical and emotional risks, including overexposure, psychological effects, and societal judgment, potentially harming individuals and the practice’s reputation.
Common Mistakes to Avoid
When engaging in body brushing, especially in tutorials, it’s crucial to avoid overexposure, as seen in some NSFW content. Over-brushing can lead to skin irritation, while improper techniques may cause discomfort or injury. Additionally, ignoring personal boundaries and privacy can result in emotional distress. Ensuring the practice remains respectful and consensual is vital to maintaining its benefits and avoiding negative consequences; Being mindful of these pitfalls helps preserve the integrity and health-focused nature of body brushing, preventing it from crossing into inappropriate territory. Awareness and moderation are key to a safe and effective experience. Always prioritize care and discretion.
Physical Risks of Improper Brushing
Improper body brushing can lead to skin irritation, abrasions, or even breaks in the skin, increasing the risk of infections. Overly aggressive techniques may cause micro-tears, especially in sensitive areas, leading to pain and prolonged healing. Additionally, excessive brushing can disrupt the lymphatic system, potentially causing swelling or inflammation. Neglecting proper hygiene practices, such as using a clean brush, may introduce bacteria, further complicating these issues. It’s essential to use gentle, controlled strokes and avoid sensitive regions to prevent physical harm. When tutorials, especially NSFW ones, emphasize intensity over care, they risk promoting practices that undermine the health benefits of body brushing. Awareness is key to safe and effective brushing.
Psychological Effects of Overexposure
Overexposure to NSFW body brushing content can lead to heightened anxiety or discomfort, especially if individuals feel pressured to conform to unrealistic standards. Constantly viewing such material may distort self-perception, fostering insecurities or an unhealthy obsession with physical appearance. Additionally, the emotional conflict between intimacy and public display can create internal stress. The blurring of boundaries between private and public spaces may also lead to feelings of vulnerability or embarrassment. Prolonged exposure can desensitize individuals to the practice’s original intent, reducing its potential benefits and fostering a culture of objectification. Balancing consumption and mindfulness is crucial to maintaining a healthy psychological relationship with body brushing.
Social Media and Body Brushing Trends
Social media platforms have amplified the popularity of body brushing, with tutorials often gaining viral attention. However, the rise of NSFW content has sparked mixed reactions, blending fascination and controversy.
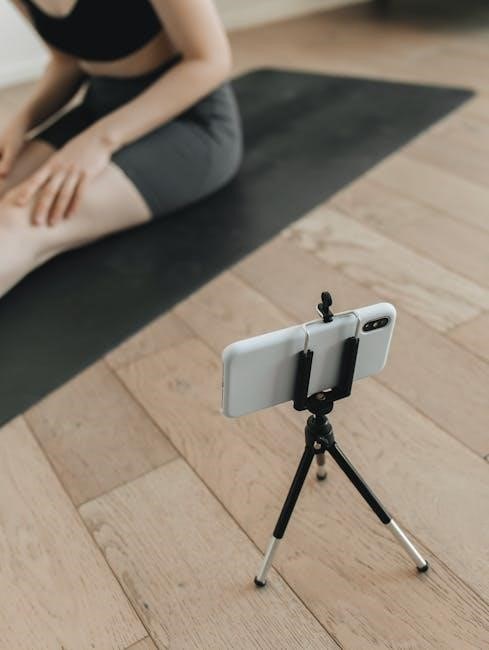
Role of Social Media in Popularizing Body Brushing
Social media platforms like Instagram and TikTok have played a significant role in bringing body brushing into the mainstream. Through short, engaging videos and trending challenges, users share their experiences, tips, and routines. Influencers often highlight the benefits of body brushing, from skin care to relaxation, making it appealing to a wider audience. However, the line between educational content and NSFW material has blurred, with some creators incorporating sensual elements to gain traction. This shift has not only boosted the practice’s popularity but also sparked debates about its intent and perception. As a result, body brushing has become a dual phenomenon—both a wellness trend and a subject of adult content.
Virality of NSFW Body Brushing Content
The rise of NSFW body brushing content has been rapid, with tutorials and videos gaining millions of views across platforms. Creators often combine detailed brushing techniques with suggestive visuals, making the content highly shareable. Algorithms favor engaging material, and the blend of wellness and sensuality attracts diverse audiences. Despite the controversy, this trend has introduced body brushing to those unfamiliar with its benefits. However, it also risks overshadowing its original purpose, turning it into a niche rather than a mainstream wellness practice. The viral nature of such content ensures its continued presence, influencing perceptions and sparking debates about its role in modern culture.
Community Reactions and Controversies
The rise of NSFW body brushing content has sparked intense debate within online communities. While some users appreciate the creative and sensual twist, others criticize the sexualization of a practice rooted in wellness. Feminist groups argue that such content objectifies the body, undermining its original purpose. Health advocates express concerns that the focus on aesthetics and intimacy distracts from the physical and mental benefits of body brushing. Social media platforms struggle to moderate this content, as it often blurs the line between educational and explicit material. The controversy highlights the challenges of balancing personal expression with cultural sensitivities, raising questions about the future of body brushing as a mainstream practice.

Cultural and Social Implications
Body brushing, once a wellness ritual, now sparks debates as NSFW tutorials challenge cultural norms, blurring lines between intimate expression and societal expectations, fostering global dialogue.
Body Image and Self-Perception
Body brushing tutorials, especially those with NSFW content, often highlight the connection between physical touch and self-perception. While some find empowerment in embracing their bodies, others may feel pressured by unrealistic beauty standards. The rise of such content has sparked debates about body positivity versus objectification. Many users report increased confidence, while others struggle with self-comparison. The blurring of lines between wellness and adult content raises questions about how body image is perceived in modern society. This duality underscores the complex relationship between self-expression, intimacy, and societal expectations, making body brushing a focal point for discussions on personal identity and cultural norms.
Societal Norms and Acceptance
Societal norms play a significant role in shaping perceptions of body brushing, particularly when tutorials cross into NSFW territory. While some cultures embrace the practice as a form of self-care, others view it with skepticism or even disgrace. The acceptance of body brushing varies widely, with certain regions openly discussing its benefits and others relegating it to private conversations. The rise of NSFW content has fueled debates about appropriateness and boundaries, highlighting the tension between personal freedom and cultural expectations. This duality reflects broader societal struggles with sexuality, intimacy, and body positivity, making body brushing a lightning rod for discussions on modern norms and acceptance.
Body Brushing as a Form of Self-Expression
Body brushing has become a powerful medium for self-expression, allowing individuals to connect with their bodies in deeply personal ways. Beyond its physical benefits, the practice encourages creativity and empowerment, as people experiment with techniques, pressures, and rhythms that resonate with their unique energy. When tutorials veer into NSFW territory, they often emphasize sensuality and confidence, transforming body brushing into an intimate form of artistic expression. This evolution reflects a broader cultural shift toward embracing body positivity and personal freedom. By reclaiming their bodies as canvases for expression, individuals are rewriting societal narratives, making body brushing not just a ritual but a celebration of individuality and autonomy.
Body brushing, while rooted in wellness, has sparked debates due to its NSFW evolution. Balancing health benefits with sensuality requires mindful engagement and respect for boundaries.
Summarizing the Key Points
Body brushing, originally a wellness practice, has evolved into a topic of debate due to its NSFW content. The blending of health and intimacy creates a complex dynamic, with social media amplifying its sensual side. While some view it as a natural extension of self-care, others criticize its objectification. Understanding the boundaries between personal care and adult content is crucial. Practitioners must prioritize consent and respect, ensuring the practice remains empowering rather than exploitative. Balancing its benefits with ethical considerations is key to its future in both wellness and digital spaces.
Future of Body Brushing and NSFW Trends
The future of body brushing lies in balancing its wellness origins with the growing NSFW content trend. As social media platforms tighten policies, creators may face challenges in sharing explicit material. Meanwhile, the practice itself could evolve into more ethical, consent-focused content. Technological advancements, like AI-generated tutorials, might blur the lines further. The rise of virtual reality could also redefine how body brushing is experienced and shared. Despite these shifts, the core benefits of body brushing as a self-care ritual must remain central to its identity. Striking this balance will be crucial for its sustainable growth in both wellness and digital cultures.
Final Recommendations for Practitioners
For those engaging with body brushing, especially when tutorials veer into NSFW territory, prioritize professionalism and respect for personal boundaries. Maintain clear communication with participants, ensuring consent and comfort. Focus on the health and wellness aspects of the practice to ground it in its original purpose. Avoid crossing into inappropriate content unless explicitly agreed upon by all parties. Be mindful of platform policies to prevent account restrictions. Encourage open dialogue about intentions and limits to foster a safe environment. By balancing intimacy with respect, practitioners can navigate the fine line between sensual exploration and professional integrity, preserving the practice’s therapeutic value while exploring its broader potential.