Epson WF-2930 Manual: A Comprehensive Guide
This manual provides detailed instructions for setting up, using, and maintaining your Epson WF-2930 printer, covering everything from initial setup to advanced features.
The Epson WF-2930 is a versatile, wireless all-in-one inkjet printer designed for home and small office use. It offers features like printing, scanning, copying, and faxing, all within a compact footprint. This guide will walk you through every aspect of utilizing your printer, ensuring optimal performance and longevity. Expect clear, concise instructions, troubleshooting tips, and insights into maximizing its capabilities.
Unboxing and Initial Setup
Carefully unpack your Epson WF-2930, ensuring all components are present: the printer, power cord, ink cartridges, setup CD, and documentation. Connect the power cord and turn the printer on. Follow the on-screen prompts to select your language and region. Install the included ink cartridges correctly. Connect to your Wi-Fi network during setup for wireless printing and scanning capabilities. Register your printer online for warranty and support access.
Hardware Overview
The Epson WF-2930 features a compact design with a user-friendly interface. It includes a color LCD screen for easy navigation and control. The printer boasts automatic two-sided printing capabilities, saving paper and reducing costs. A 100-sheet paper tray accommodates standard paper sizes. The rear paper feed supports specialty media. Explore the printer’s exterior for access points to ink cartridges and paper paths for maintenance.
Printer Components
Key components include the print head, responsible for image creation, and the ink cartridges, utilizing Epson’s DURABrite Ultra ink for sharp, durable prints. The paper feed mechanism ensures smooth paper handling. The scanner unit facilitates copying and scanning functions. The control panel, featuring an LCD screen and buttons, manages printer settings. Finally, the power supply provides necessary energy for operation.
Control Panel Functions
The Epson WF-2930’s control panel features a 2.4-inch color LCD screen for easy navigation and settings adjustments. Buttons allow for direct control of functions like copying, scanning, and Wi-Fi setup. Users can access menus for print quality, paper size, and network configurations. The control panel also displays error messages and ink levels, ensuring efficient printer management and troubleshooting.
Software Installation and Configuration
Installing the Epson WF-2930 software is straightforward, utilizing the included CD or downloadable files from Epson’s website. The installation package includes drivers for printing and scanning, as well as the Epson Printer Utility for managing printer settings. Configuration involves connecting the printer to your computer via USB or Wi-Fi, and completing the software setup wizard for optimal performance and functionality.
Driver Installation Process
The driver installation begins by running the downloaded or CD-based setup file. Accept the license agreement, then choose your connection type – USB or Wi-Fi. The software automatically detects the WF-2930. Follow on-screen prompts; avoid connecting the printer until instructed. Upon completion, test the installation by printing a sample page to confirm successful driver recognition and functionality.

Epson Connect Setup
Epson Connect enables printing and scanning from various devices without direct connection. Download the Epson Smart Panel app on your smartphone or tablet. Create or log into your Epson Connect account. Register your WF-2930 using the serial number. Follow the app’s instructions to connect the printer to your Wi-Fi network. Now you can print from mobile devices and email!
Paper Handling
Proper paper handling ensures optimal print quality and prevents jams. The Epson WF-2930 supports various paper types, including plain paper, envelopes, and photo paper. Always fan the paper stack before loading it into the paper tray to prevent sticking. Adjust the paper guides to fit the paper size snugly. Avoid overfilling the tray to maintain reliable feeding.
Supported Paper Types
The Epson WF-2930 accommodates a wide range of paper, including standard A4 and Letter size plain paper (20-24lb). It also supports glossy and matte photo papers for vibrant prints. Envelopes (#10) and legal-size paper are also compatible. Maximum paper capacity varies depending on the type. Refer to the detailed specifications for weight and size limitations to avoid issues.
Loading Paper Correctly
Ensure proper paper loading for optimal print quality and to prevent jams. Fan the paper stack before loading to separate the sheets. Align the paper guides snugly against the stack, but don’t overtighten. Load paper into the rear feed tray, ensuring it isn’t overfilled. Adjust the paper size setting in the printer menu to match the loaded paper.
Printing Basics
Initiating a print job with the Epson WF-2930 is straightforward. First, ensure the printer is powered on and connected. Open the document you wish to print and select “Print”. Choose the Epson WF-2930 from the available printers. Adjust basic settings like paper size, print quality (draft, normal, best), and color/grayscale options. Click “Print” to begin.
Basic Print Settings

The Epson WF-2930 offers several fundamental print settings for customization. Paper Size allows selection from standard options like Letter, A4, and more. Print Quality controls detail – Draft for speed, Normal for everyday use, and Best for high-resolution output. Color/Grayscale determines printing mode. Duplex printing (two-sided) saves paper. Adjust margins and page orientation (portrait/landscape) as needed for optimal results.
Printing from Different Devices
The Epson WF-2930 supports printing from various devices. Direct printing from USB flash drives is possible via the printer’s front panel. Wireless printing from smartphones and tablets utilizes the Epson iPrint app or Apple AirPrint. Printing from computers (Windows/Mac) requires driver installation. Network printing allows multiple users to access the printer. Ensure device connectivity and correct driver selection for seamless printing experiences.
Scanning and Copying
The Epson WF-2930 offers versatile scanning and copying functionalities. Documents and images can be scanned directly to your computer or saved as searchable PDFs. The integrated scanner supports high-resolution scanning for detailed results. Copying documents is straightforward using the control panel buttons, allowing for quick duplicates. Adjust settings like copy quality and number of copies as needed for efficient document handling.

Scanning Documents and Images
To scan, place your document face down on the scanner glass. Utilize the Epson Scan software on your computer to initiate the scan. Select desired resolution, color mode (black & white, grayscale, or color), and file type (JPEG, PDF, etc.). Preview the scan before finalizing. For images, ensure proper lighting and alignment for optimal results. Save scanned files to your preferred location with a descriptive name.
Copying Documents
The Epson WF-2930 allows for quick and easy document copying. Place the original document face down on the scanner glass. Use the control panel buttons to specify the number of copies desired. Adjust settings like copy quality (standard or high) and paper size as needed. Press the start copy button to begin the process. The printer will automatically scan, copy, and output the duplicates.
Wireless Connectivity
The Epson WF-2930 offers seamless wireless connectivity, enabling printing and scanning from various devices without a direct cable connection. To connect, access the printer’s setup menu via the control panel and select the wireless settings. Choose your Wi-Fi network and enter the password. Ensure a strong signal for optimal performance. Troubleshooting steps are available within the manual for connection issues.
Connecting to Wi-Fi Networks
To connect your Epson WF-2930 to a Wi-Fi network, navigate to the setup menu on the printer’s control panel. Select “Wireless LAN Setup” and choose your network from the available list. Enter your Wi-Fi password accurately when prompted. The printer supports WEP, WPA, and WPA2 encryption. A successful connection is indicated by a stable Wi-Fi icon on the display. Refer to the manual for WPS setup options.
Troubleshooting Wireless Issues
If your Epson WF-2930 experiences Wi-Fi connectivity problems, first ensure the printer is within range of the router. Restart both the printer and your router. Verify the correct Wi-Fi password is entered. Run the network troubleshooter from the printer’s control panel. Check for firmware updates. Interference from other devices can also cause issues; try relocating the printer. Consult the Epson support website for further assistance.
Maintenance and Troubleshooting
Regular maintenance ensures optimal performance of your Epson WF-2930. Periodically clean the print head using the printer’s utility software to prevent clogged nozzles. Address paper jams promptly by following the illustrated guide in this manual. Run nozzle checks to assess print quality. For error messages, consult the troubleshooting section or Epson’s support website for specific solutions and guidance.

Print Head Cleaning
To maintain optimal print quality, regularly clean the Epson WF-2930’s print head; Access the print head cleaning utility through the printer’s control panel or the Epson software on your computer. The cleaning process uses ink to dissolve potential clogs. Run a nozzle check after cleaning to verify improvement. Repeat if necessary, but avoid excessive cleaning to conserve ink.

Paper Jam Removal
If a paper jam occurs, immediately power off the Epson WF-2930. Gently remove any visible paper from the paper path, both inside and outside the printer. Check the rear access panel and the paper tray area. Avoid using tools that could damage the printer’s internal components. Ensure all paper fragments are removed before restarting to prevent recurring jams.
Advanced Features

The Epson WF-2930 offers several advanced features for enhanced productivity. Utilize duplex printing to automatically print on both sides of the paper, saving resources. Explore borderless printing for professional-looking photos and documents. Configure automatic document feeder settings for efficient scanning and copying of multi-page documents. These features optimize workflow and deliver superior results.
Duplex Printing
Enable duplex printing within the printer settings to automatically print on both sides of each sheet. This feature significantly reduces paper consumption and is ideal for documents like reports or drafts. Access the print dialog box, locate the duplex printing option, and select your desired binding edge – long or short. Confirm the settings and initiate printing for eco-friendly results.
Borderless Printing
Achieve professional-looking photos and documents with borderless printing. Within the printer settings, select the borderless option and choose a compatible paper size. Ensure the paper type is appropriate for optimal results; glossy photo paper works best for images. Note that borderless printing utilizes slightly more ink and paper, maximizing the printable area for visually stunning outputs without white edges.
Epson Certified ReNew Program
Epson’s Certified ReNew program offers a sustainable option for purchasing printers like the WF-2930. These refurbished products undergo rigorous testing and adhere to Epson’s stringent quality standards, ensuring reliable performance. ReNew products come with a warranty, providing peace of mind. Choosing ReNew reduces electronic waste and offers a cost-effective alternative to buying new, supporting environmental responsibility.
Image Quality and Settings
The Epson WF-2930 offers adjustable image quality settings for optimal print results. Users can fine-tune sharpness levels to achieve desired clarity, balancing detail with potential artifacts. Exploring different print modes, like standard or enhanced, impacts color vibrancy and detail. Experimenting with these settings ensures prints match individual preferences and media types, delivering consistently high-quality output.
Sharpness Settings and Optimization
Adjusting the sharpness setting on your Epson WF-2930 directly impacts print detail. Lower settings produce softer images, ideal for photos, while higher settings enhance text clarity. Experiment to find the optimal balance; excessive sharpness can introduce artifacts. Consider the paper type – glossy paper often benefits from slightly reduced sharpness for smoother results. Regularly calibrate for consistent, high-quality prints.
Dynamic Mode and Image Enhancement
Epson’s dynamic modes automatically optimize print quality based on content. Utilizing advanced algorithms, these modes enhance colors and contrast for vibrant photos and crisp text. While convenient, be mindful that dynamic modes can sometimes alter the original image slightly. For critical color accuracy, consider manual adjustments. Explore the enhancement settings to tailor output to your specific needs and preferences.
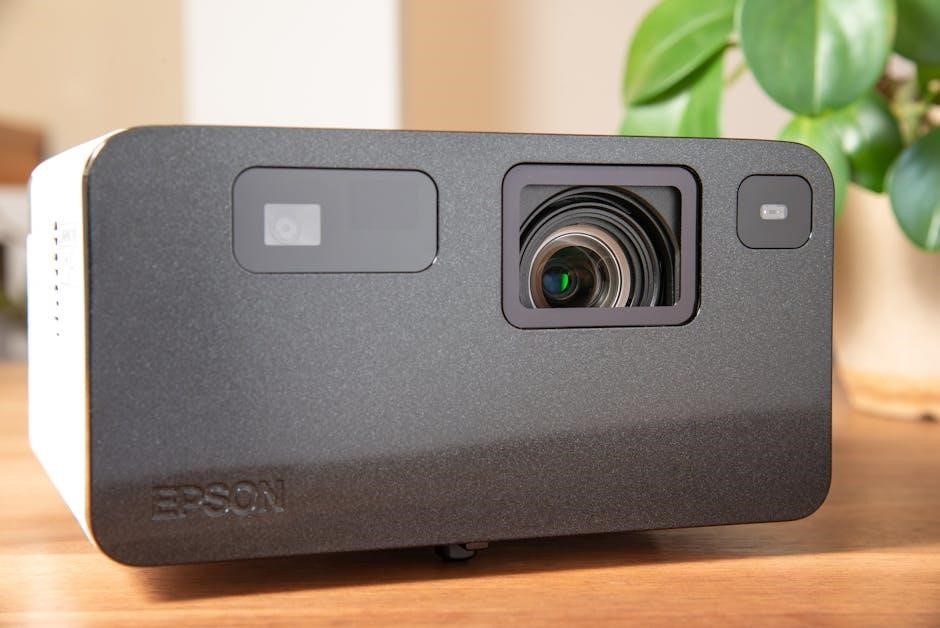
Projector Capabilities (Related Epson Technology)
Epson’s expertise extends beyond printers to innovative projection technology. Their EpiqVision EH-LS800 utilizes ultra-short-throw projection, creating large images from minimal distance. Advanced 4K PRO-UHD laser technology delivers exceptional brightness and color accuracy. While not directly related to the WF-2930, this showcases Epson’s commitment to high-quality imaging solutions for diverse home entertainment needs.
Ultra-Short-Throw Projection
Epson’s ultra-short-throw projectors, like the EH-LS800, redefine home cinema placement. A remarkably short throw ratio – 0.16:1 – allows a 150-inch image from just 11.2 inches away. This eliminates shadows and walkway obstructions, offering flexible installation options. It’s ideal for smaller rooms, providing an immersive viewing experience without the traditional projector distance requirements.

4K PRO-UHD Laser Technology
Epson’s 4K PRO-UHD laser technology, featured in models like the LS12000, delivers stunning image quality. Utilizing advanced pixel-shifting technology, it achieves a true 4K UHD image with 8.3 million distinct pixels. Laser light source ensures vibrant colors, incredible detail, and exceptional brightness, alongside long-lasting reliability and consistent performance for years of immersive entertainment.